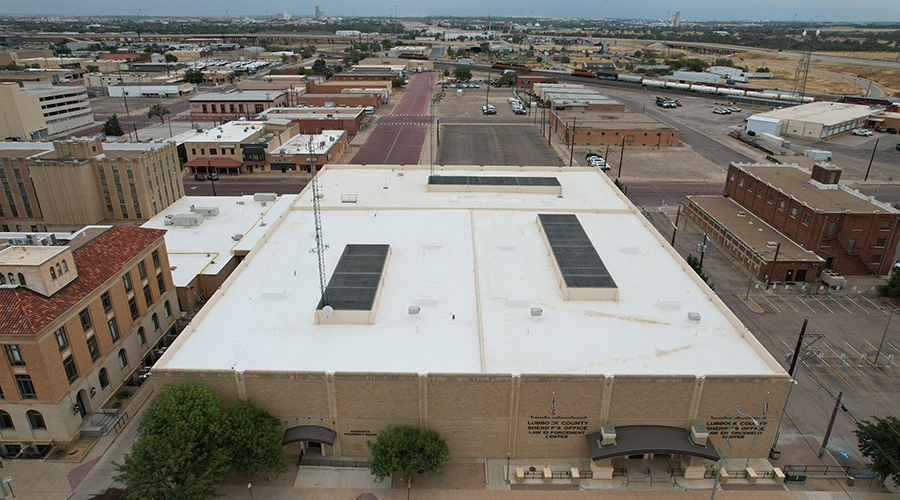
Before-and-After Photographs Important for Roof Inspections
Technicians should take before-and-after pictures at each inspection and during repairs. Managers can use the images and written reports to plan future work in between inspections and to make the most of the inspections. During major repairs, overlays, or tear-offs and replacements, taking video at critical phases also will ensure a complete history of repairs.
Documenting such work strengthens future claims where incomplete, faulty or sub-standard work is an issue. In addition, claim records, documentation of negotiating claims to a successful outcome, and steps used to employ records and pictures are excellent training aids. They show supervisors and technicians not only what to do but what to avoid to keep roof reliability high and maintenance costs low — all while extending the roof's life cycle and satisfying occupants.
Putting Inspections To Work
The first step in maximizing the investment in roof inspections is to review history reports to determine if problems are recurring in the same areas. This history research can help technicians locate the origin more easily, even if a water intrusion turns out to be some distance from the water's entry point.
Visual clues, such as leaves or other debris blocking a drain or downspout collector, often mean a great deal of material already has gotten through and is a potential blockage. Technicians should follow up such discoveries by flushing the drain as a preventive measure.
The toughest challenge in inspections is tracing a leak from a heavy rain. Often, the penetration on top of the roof is far from the end of the water's journey into the ceiling, walls, equipment, and occupant space. Water hidden above a ceiling can build up for a while until its accumulated weight causes part of the ceiling to come crashing down.
After penetrating the roof membrane, the water falls on structural members, such as open web joist roof supports, or moves along troughs in a formed sheet metal deck, and then runs away, sometimes in several directions at once, only to appear suddenly in distant ceiling areas. Detection is particularly difficult if the space between the ceiling and the roof deck is very limited or is blocked from access by fire walls.
A similar challenge occurs with a roof overlay. Once the water gets past the new top layer, it can travel great distances on the old roof before finding a point of entry to the facility. The hard part is detecting the water's point of entry. It might be at a seam, an area where water is ponding, an overlaid scupper or other roof penetration not properly sealed, or dozens of other places.
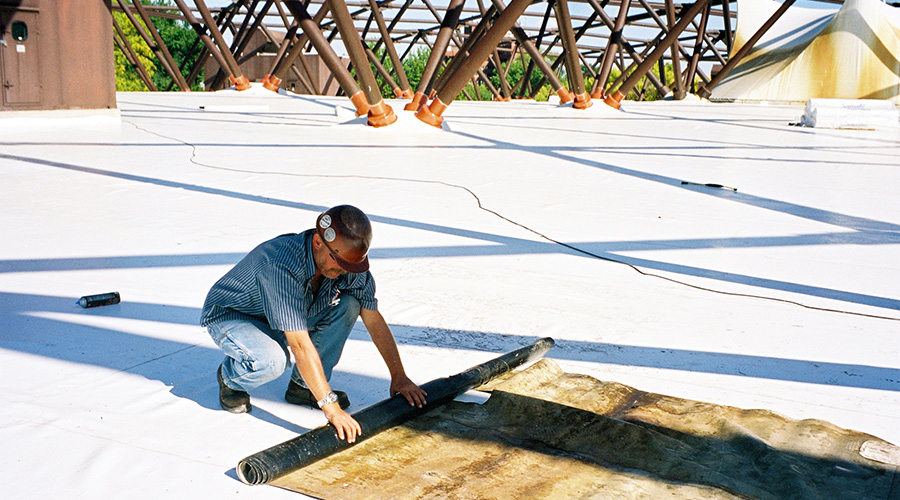
The first step is a visual inspection. Technicians can inspect seams using a pick tool to check the integrity and find separations. This method narrows the search. In winter, this step can entail shoveling drifts or removing ice to clear the suspected leak site. Clearing the site is not usually covered by the warranty, so experienced roofers should do the job to prevent further damaging the membrane.
The second method, infrared thermography, can only occur under special weather conditions — for example, in the evening after a warm day to ensure the best color differentiation on the monitor between cool areas where underlying water is present and warm areas where the underlying area is dry.
The third method is coring. A roofing core sample cutter creates a circular sample of all the layers of a roof down to the deck to allow inspection of all layers for water stains, rotting, mold, and decay.
If the core sample material is in good condition, the inspector can replace it by coating the area with compatible cement and inserting into the hole.
Since the sample is only about 2 inches in diameter, the inspector first needs to narrow the location of the suspected problem. The object is to determine not only where a leak is but also the condition of the roof membrane, insulation and deck.
If so, it might be necessary to open the roof up further and examine the deck around the core sample for rot in the case of wood or corrosion in the case of metal, and replace the damaged deck area before replacing the membrane.
Thomas A. Westerkamp is a maintenance and engineering management consultant and president of the work management division of Westerkamp Group LLC.
Related Topics: